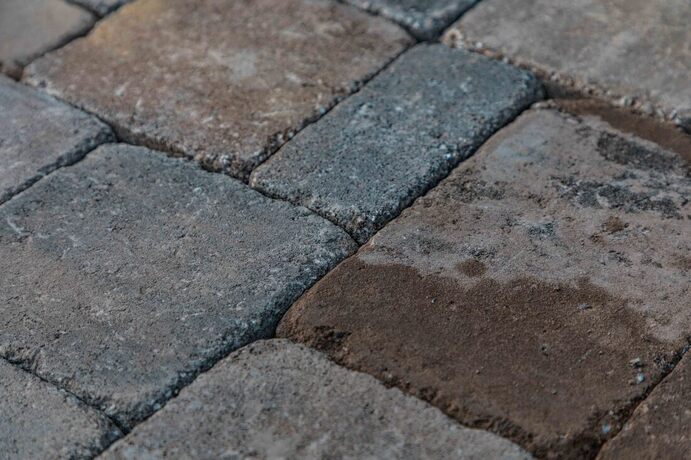
The sun is shining, the birds are chirping, and you decide that it's a perfect time to enjoy your outdoor patio for a while. But as you step outside, you notice that your once beautiful patio hardscape has seen better days. The stones or pavers are dirty and stained, weeds are starting to grow between the cracks, and there's mold and mildew buildup. Some parts have so much grime that it's impossible to see any hint of the stone's actual color.
The color... you think back to the day the contractors packed up for the last time as you stood proudly on your newly finished patio, admiring the stones' unique coloration. You had picked it personally, a hue that's somehow both flat-toned and vibrant. You remember how beautifully it accented your outdoor area. Your mind is pulled back into the present by the vile swamp-green blight which now surrounds you. You feel a trickle of sadness leak into your mind, and shift your weight, too lost in thought to note the slimy texture underfoot. You love your patio, you planned it for weeks with care, and it has welcomed you at the end of many hard days when you needed a place to relax quietly. It brought you together with family and friends. It has been the foundation on top of which dozens of happy memories were built. Now the once warm, inviting backyard getaway is only a shadow of itself. Stone that once reflected the sound of laughter now struggles to even reflect sunlight. The grime-coated surface tells its story of gradually falling into disuse, becoming forgotten....until today. Don't worry, the patio you love is still there! You can still bring it back, in all its glory, to the way it looked on the day when you waved goodbye to that installation crew all those years ago! You don't have to completely rip up your patio and start from scratch. With a little bit of elbow grease and the expert tips we're going to give you here, you can easily refurbish your old patio and bring it back to life. In this article, we will walk you through the step-by-step process of reviving your patio and then how to protect it with sealant to keep it in pristine condition!
The process of restoring your hardscape to look like new is fairly straight forward. Here's a video showing a patio being restored and protected.
While the steps are pretty clear, the tasks involved require a bit more attention to detail to do them properly. That's why we're going to break it all down and explain the finer points of the process. This way, you have the pro knowledge of how to get the best end-result for your efforts!
Step 1: Clean the Patio Surface Completely
Your first task will obviously be to clean all the built-up dirt and grime off of the hardscape. You'll need to clean it very well before attempting to seal the surface. Any grime left on the pavers will be sealed in if it isn't cleaned properly now.
A regular hose won't do the job here. To clean off the layers of grime completely, you need to pressure wash the patio. Pressure wash with WATER ONLY, do not use chemicals. Some types of hardscaping stones will be damaged by chemicals, especially many natural stones. Depending on how dirty the surface is, you may need to go over the patio a couple of times to make sure they are good and clean. Some of the paver sand between the pavers may come up while pressure washing, especially if there are larger gaps between the stones (such as flagstone). Don't worry though, you'll fix it later in this process. For now, just focus on cleaning the hardscape very thoroughly. Continue to pressure wash the surface until your down to the stone itself. If you think you're finished, try concentrating the pressure washer on a single point for a moment in different places around the patio. If that spot then looks obviously cleaner/lighter/more vibrant than the surface surrounding it, that means there's still a layer of grime and you should continue pressure washing. Remember: If you don't clean it properly now, that dirt and grime will be sealed on the patio later! It is crucial that you invest the time and effort into getting it 100% clean. Otherwise, you might as well not even bother doing this at all. Once pressure washing is complete, rinse the hardscape completely with your garden hose to wash off the loose dirt and debris. Step 2: Allow the Patio to Dry
Before you continue, you need to let the patio dry for at least two clear, sunny days. Weather conditions can play into this. You should check your local forecast in advance and do this project when you have at least 10 to 14 days with no rain expected, if possible. You can check the latest forecasts right here on our weather page.
It is important for the hardscape to fully dry because we'll be applying polymeric sand in the next phase of this project. Polymeric sand hardens into a concrete glue-type of material when mixed with water. Trying to apply it to a wet hardscape would produce a disastrous mess!
Step 3: Apply Fresh Polymeric Sand
Next, after allowing the patio time to fully dry, it's time to fill in those cracks between the pavers. This is where the polymeric sand, sometimes called "paver sand" comes in.
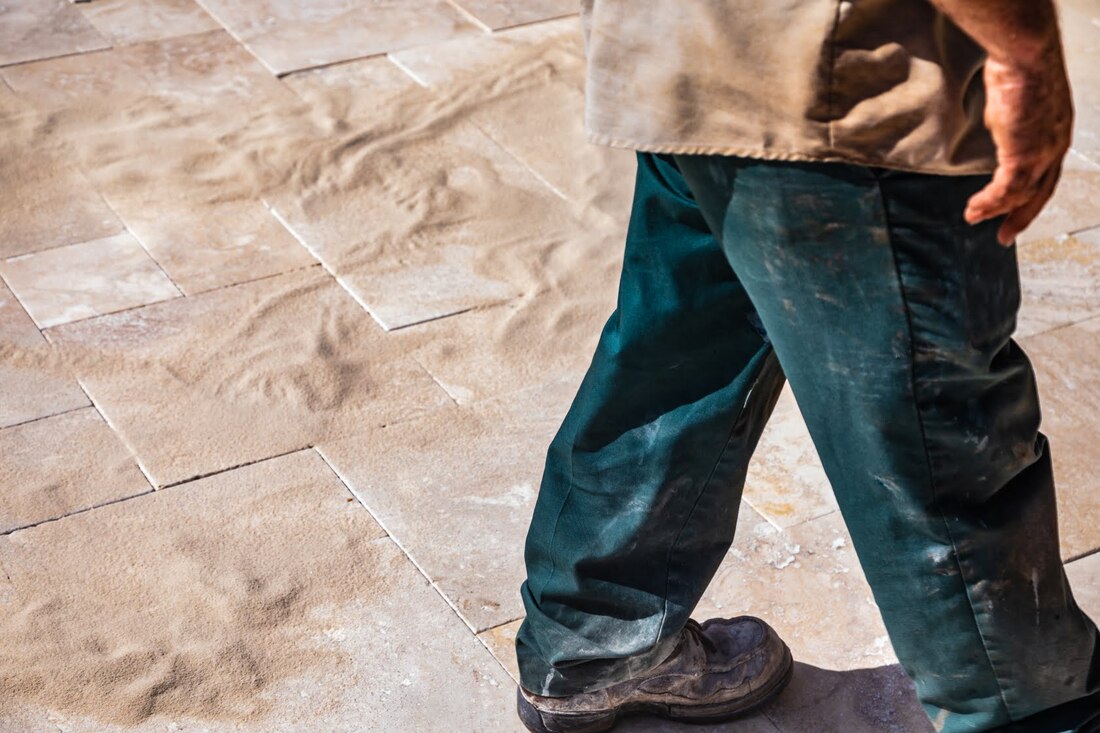
This type of sand has a binder that helps it stick together when activated with water. Pour the polymeric sand out all across the patio. Then, use a push broom to sweep the sand around, evenly filling all cracks and crevices. Sweep any excess sand off of the patio and use an the light wind from an idling leaf blower to dust off the patio's surface without blowing the sand out of the cracks. Now you need to activate the sand by lightly wetting it. A small pump sprayer works best for this. If you have to, you can use a garden hose with a selectable spray nozzle set to a "mist" setting. We recommend investing in two basic, inexpensive pump sprayers for this project though, because you'll require one for the next step anyways. Simply spray along all the cracks and crevices of the patio's surface. You don't need to flood it, just a light, even spray to dampen the polymeric sand. This will cause the sand to expand and fill any gaps. Step 4: Seal the Stone/Pavers
To keep your patio looking like new for longer, it's crucial to seal the pavers after cleaning them. This step adds a protective layer to the surface, preventing dirt, stains, and weeds from taking root in the stone. Be sure to select a sealant that is suitable for your type of hardscape stone. You can also select from different effects that the sealer will apply to your patio, such as a wet look and other visual effects. Simply use a pump sprayer or roller to apply the sealer evenly over the pavers. We recommend using a sprayer for an evenly coated application.
Step 5: Maintain Your Patio and Enjoy It!
Congratulations, you have successfully refurbished your old patio! But to keep it looking fresh and clean, regular maintenance is key. We recommend pressure washing and resealing your patio at least once every two years. For best results, you can perform this annually.
Great Job! You're Finished!
With these simple steps, you can transform your old, weathered patio into a like-new outdoor oasis. But if you don't have the time or expertise to tackle this project yourself, don't hesitate to reach out to hardscape professionals for help. They can provide expert advice and ensure that your patio is restored to its full glory.
A beautiful outdoor space should be enjoyed, not avoided. So don't let your old patio hold you back from hosting barbeques, relaxing with a book, or simply enjoying the fresh air. Follow these tips and get ready to fall in love with your revitalized outdoor space. If you live in the Middle Georgia area around Macon and Warner Robins, we can help you restore your patio! Reach out to our team to request a free quote! Loading...  RSS Feed RSS Feed
4 Comments
4/8/2024 06:54:07 am
The blog "How to Restore Old Patio Hardscapes to Like-New Condition and Keep Them That Way" offers valuable insights and practical tips for rejuvenating worn-out patios. We appreciate the admin's effort in sharing such informative content and encourage them to continue providing us with these helpful resources.
Reply
5/20/2024 01:43:50 am
"I found this article to be both informative and engaging. The topic is well-explained, and I appreciate the effort you've put into sharing your knowledge. Well done!"
Reply
5/20/2024 01:44:41 am
"This post is a great resource for anyone looking to learn more. The clarity of your writing and the depth of your insights make it a valuable read. Thanks for sharing!"
Reply
What a great informational post! I am new to the landscaping business and have read several articles that continue to increase my knowledge base. This is one of the most important pieces I have read because we all know hardscaping can be very expensive and knowing how to maintain not just the look, but also the quality of the work is priceless. Thank you so much for this information
Reply
Leave a Reply. |
By: William AdamsIn 09/2018 William started at Real Turf working in the field having never done manual labor before. He wasn't expected to last the first day. Terry recognized ways William could benefit the company more, and after 5 months of working full-time on lawn service and enhancement crews, William was given a position doing digital marketing, IT, & quality control work. Archives
March 2024
Categories
All
|


